Summary
You want to use a Microsoft PowerPoint presentation as content in a Moxie layout.
Omnivex Moxie can display Microsoft PowerPoint files in a layout if you have PowerPoint installed and properly configured on your Moxie Studio and Player computers. This is accomplished by directing a Web zone to a PowerPoint PPS or PPSX file where the Web zone will then use PowerPoint to display the slide show content in your layout.
Solution
By default, Microsoft PowerPoint 2007 and 2010 open all PowerPoint files in a new PowerPoint application window.
Before a PowerPoint file can be displayed in a Moxie layout, the registry must be configured first in order to change this behavior. Once the registry has been modified, the PowerPoint content displays correctly within the layout.
These registry changes must be made on each Moxie Studio and Player computer that is to display this content.
The following steps must be performed in order to use PowerPoint content in a layout.
- I. - Configure PowerPoint content for display.
- II. - Modify the operating system registry values for the Moxie Studio and Moxie Player computers intended to display this content.
- III. - Add PowerPoint content to a layout.
I. Configuring PowerPoint content for display
First, configure your PowerPoint slide show so that it displays correctly in Moxie. Your slides must advance automatically after a time interval that you select.
Note: The screen shots in the following example are from Microsoft PowerPoint 2007. Other version may differ.
- Open a PowerPoint file in Microsoft PowerPoint.
- Select the Slideshow tab, click the Set Up Slide Show button. The Set Up Show dialog box appears.
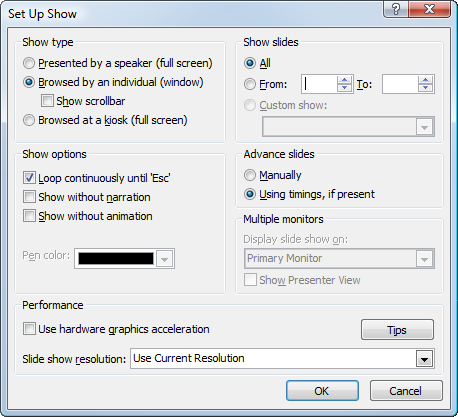
- In Show type:
- select the Browsed by an individual (window) radio button
- clear the Show scroll bar check box (PowerPoint 2007 only)
- In Show options:
- select the Loop continuously until 'ESC' check box
- in Advance slides:
- select Using timings, if present check box
- In Show type:
- In the Animations tab, in Advance Slide, ensure that the:
- On Mouse Click check box is clear
- Automatically After check box is selected and a time interval is entered
- Apply To All button is selected to apply these advance slide settings to all of the slides
- Save your PowerPoint file as file type PPS or PPSX.
II. Modify operating system registry values
Changing the Windows operating system registry values is necessary to prevent Windows from attempting to open the PowerPoint file with the Microsoft PowerPoint application instead of showing the file in a layout.
Note: Modifying the registry values incorrectly can cause serious problems to a computer. Create a backup copy of the registry before proceeding.
To modify registry values:
- Start the Windows application Notepad.
Select and Copy the following text to the system clipboard:-
Windows Registry Editor Version 5.00
[HKEY_LOCAL_MACHINE\SOFTWARE\Classes\PowerPoint.Show.8]
"BrowserFlags"=dword:800000A0
[HKEY_LOCAL_MACHINE\SOFTWARE\Classes\PowerPoint.Show.12]
"BrowserFlags"=dword:800000A0
[HKEY_LOCAL_MACHINE\SOFTWARE\Classes\PowerPoint.Show.14]
"BrowserFlags"=dword:800000A0
[HKEY_LOCAL_MACHINE\SOFTWARE\Classes\PowerPoint.ShowMacroEnabled.12]
"BrowserFlags"=dword:800000A0
[HKEY_LOCAL_MACHINE\SOFTWARE\Classes\PowerPoint.ShowMacroEnabled.14]
"BrowserFlags"=dword:800000A0
[HKEY_LOCAL_MACHINE\SOFTWARE\Classes\PowerPoint.SlideShow.8]
"BrowserFlags"=dword:800000A0
[HKEY_LOCAL_MACHINE\SOFTWARE\Classes\PowerPoint.SlideShow.12]
"BrowserFlags"=dword:800000A0
[HKEY_LOCAL_MACHINE\SOFTWARE\Classes\PowerPoint.SlideShow.14]
"BrowserFlags"=dword:800000A0
[HKEY_LOCAL_MACHINE\SOFTWARE\Classes\PowerPoint.SlideShowMacroEnabled.12]
"BrowserFlags"=dword:800000A0
[HKEY_LOCAL_MACHINE\SOFTWARE\Classes\PowerPoint.SlideShowMacroEnabled.14]
"BrowserFlags"=dword:800000A0- Paste the copied text into a new Notepad document.
- Save the Notepad document as Filename.reg
- Double-click the new REG file just created. Windows may present a confirmation dialog. Allow the registry changes to proceed.
-
III. - Adding a PowerPoint file to a layout
- In Moxie Studio's Layout Designer, click the Home tab on the ribbon.
- Click
 and then click on the background of the layout and drag until the outline is approximately the dimensions of the layout content item. The Web Browser dialog box appears.
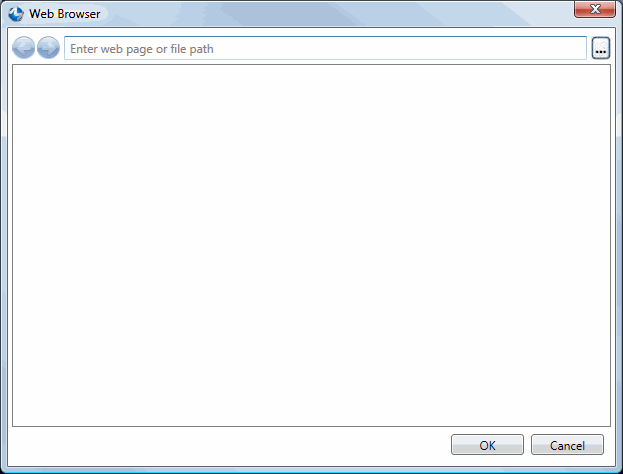
- In the text field below the dialog title, either:
- type the URL to the networked PowerPoint file and click OK
Note: The URL must begin with either "http://" or "www." - press
 . The Select File dialog box appears.
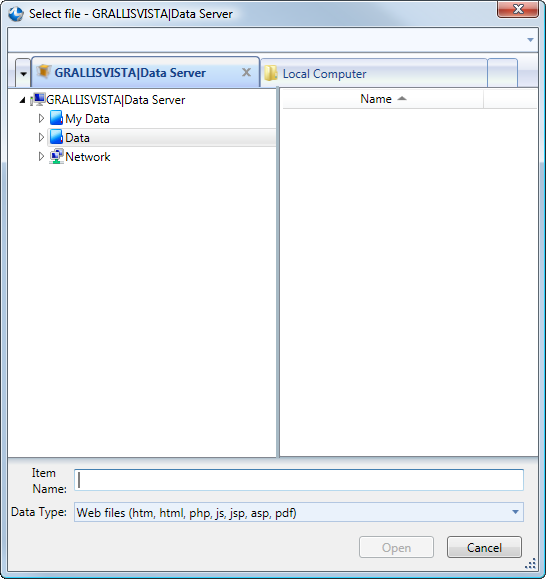
From Data Type select All Files(*.*), browse to the PowerPoint file and click Open.
- type the URL to the networked PowerPoint file and click OK
- The PowerPoint file is loaded into the Web Browser dialog and begins to display as intended.
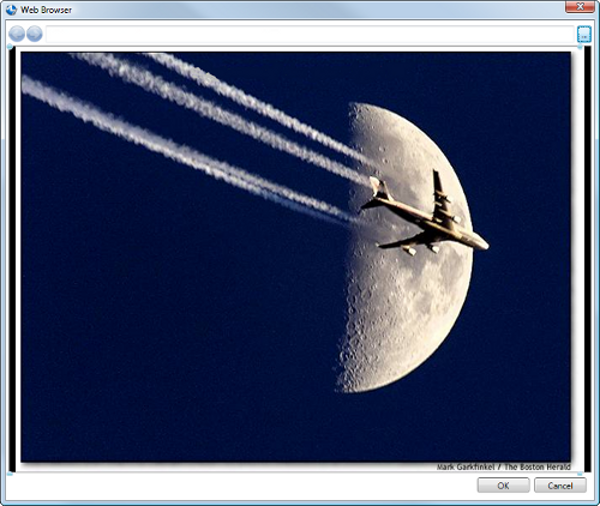
- Use the view port handles to define the area visible in all of the slides.
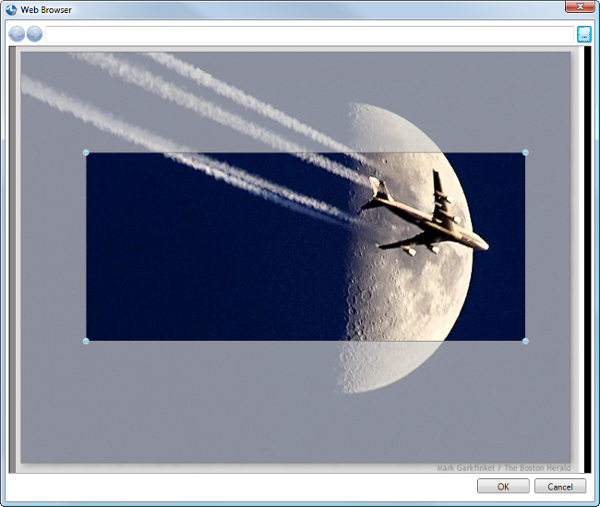
- Click OK. The Web Browser dialog closes and the PowerPoint file content appears in the layout.
- Save the layout.
Workaround
Microsoft PowerPoint slide shows can be exported as image files for use in the Moxie image or media zone within a layout or in a playlist. Displaying a slide show this way uses Moxie's native image support and eliminates the requirement to install Microsoft PowerPoint on your computers.